Backup Macbook Pro with Time Machine
Note: This post is part of the the series: Reformat Macbook Pro to make brand new. You can always refer back to the table of contents to follow the entire process.
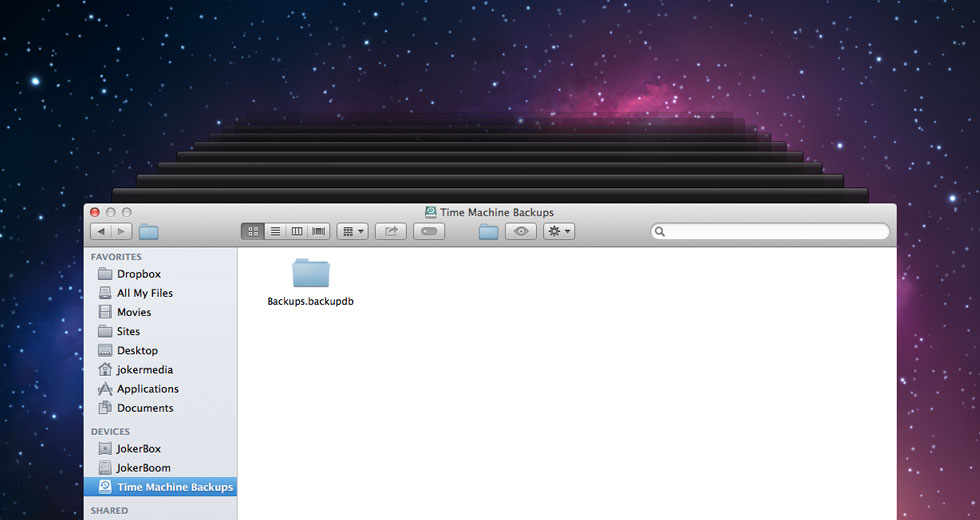
If you’ve collected all the items needed to reformat your Macbook Pro in the last post, then you’re ready to get started with the first step: back up Macbook Pro with Time Machine. All Macs these days come with Time Machine built into the operating system. Time Machine is a backup software that will back up your Mac’s contents every few hours and retain it for hours, weeks and even months on the drive that you specify. If your computer crashes, you can go back to what it was like an hour before the crash. It’s very smart to back up your data.
Let’s get started.
[su_divider top=”no”]Backup Macbook Pro with Time Machine
Time: 60 minutes (depending on size of your hard drive and transfer speed.)
First thing is first. You want to be sure you don’t have a colossal meltdown and lose everything on your old Macbook Pro. That would be sad. You’d throw a tantrum. Break stuff. So we need to back it up first and foremost.
- Shut off your Macbook Pro.
- Plug in your external hard drive. Connect cord from drive to Macbook Pro.
- Turn on Macbook Pro and external hard drive.
- When you see the drive pop up on the home screen, you’ve got your place that will store your backup ready.
- Click on the small icon for Time Machine up in the taskbar. Click Open Time Machine Preferences.
- Click Select Disk.
- Under Available Disks, click on your external hard drive. Then click Use Disk.
- Your Macbook should hold about 300GB (some more depending on your hard drive space). So Time Machine will back up all of it. That will take some time. If you want to speed it up and there’s junk on your computer you don’t want to save that have big file sizes like music or videos you can have Time Machine ignore them. Click on Options. Then click on the + symbol. Find the folder containing what you don’t want. Add as many folders as you like. When done, click Save.
- Click the Time Machine ON/OFF button to On.
- In a few seconds, your computer will start backing up all of the contents (minus what you selected in options) to the external hard drive. This will be your safety drive when/if you want things after your reformat.
- Grab coffee. You made it this far.
WARNING! (8.) Whichever folder you choose Time Machine not to include, will likely be gone forever. Choose wisely. Because whatever isn't saved in this process will be deleted.
Once the computer has completed the process of backing up your data, it’s safe. You have a copy of all of your data on your external drive and you can access it in the future to drag and drop old files
I simply left the info on the hard drive for safety sake. I wanted to complete clear all the gunk from my hard drive and start over. If you’re wanting to transfer all of your data back over to your Mac, then you’ll drag over useless files that you wanted to get rid of. So simply pick what you want and start over to receive optimal speed and that ‘new computer’ experience.
[su_divider]To continue with the series, head to the next chapter where we will create a OS X Mavericks boot drive so our computer can come back to life after it’s wiped clean.
[…] ← prev next → […]
[…] backed up your data, it's imperative you do so. If you haven't read or listened to my post on backing up Macbook Pro to Time Machine, please do so. You'll have a full copy of your data in the event something goes […]
[…] ← prev next → […]
Wiped out my hard drive with all my familys important documents and photos… Watch out step 6 will wipe out the extrrnal drive… Lost memories … gone
Reading does wonders.
thanks alot!
[…] our last chapter, we learned how to backup your Macbook Pro with Time Machine in the event we have an issue while reformatting your Macbook Pro. It also serves as an important […]